
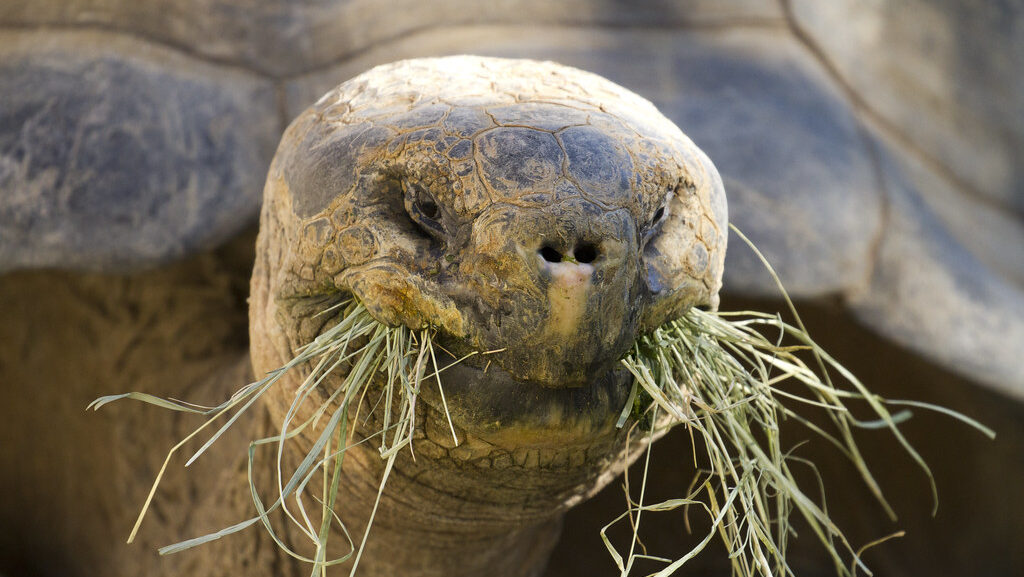
A turtle’s shell is not just a protective home—it’s a living part of their anatomy that requires proper care and attention. Many turtle owners wonder if their shelled companions need help keeping their carapaces clean, or if nature takes care of this maintenance task on its own. The truth lies somewhere in between: while turtles in the wild maintain their shells through natural behaviors and environments, pet turtles in captivity sometimes benefit from human assistance. Understanding when shell cleaning is necessary and how to do it properly ensures your turtle remains healthy and comfortable. This comprehensive guide will walk you through everything you need to know about turtle shell maintenance, from recognizing when cleaning is needed to mastering safe cleaning techniques.
Understanding Your Turtle’s Shell Anatomy
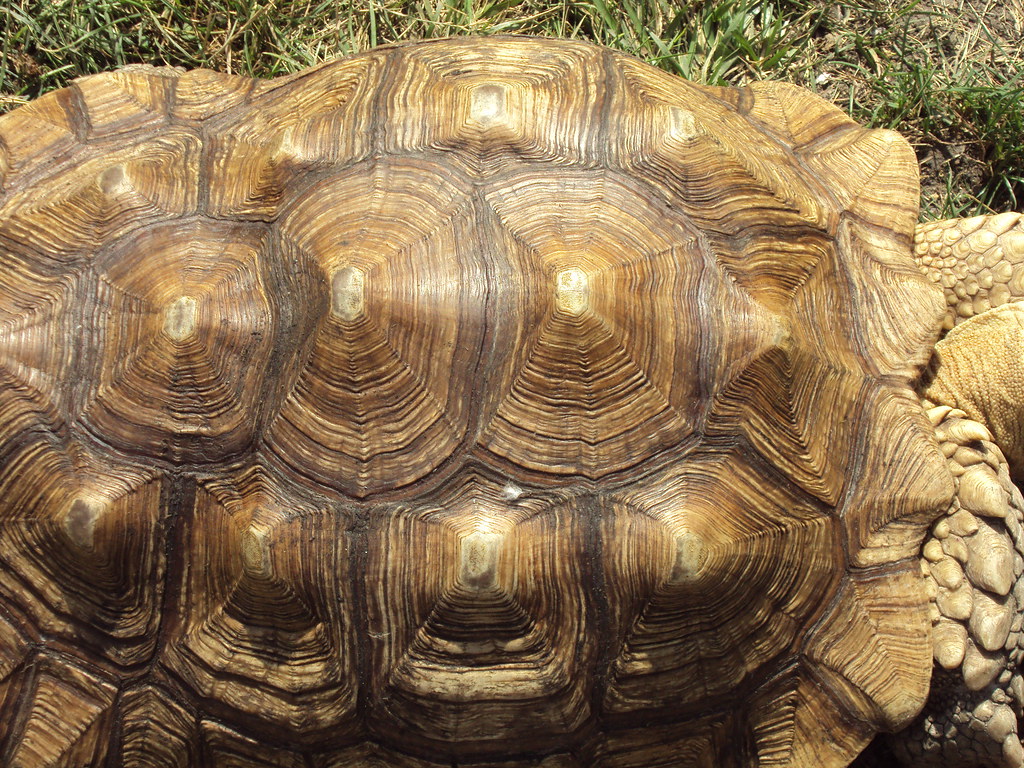
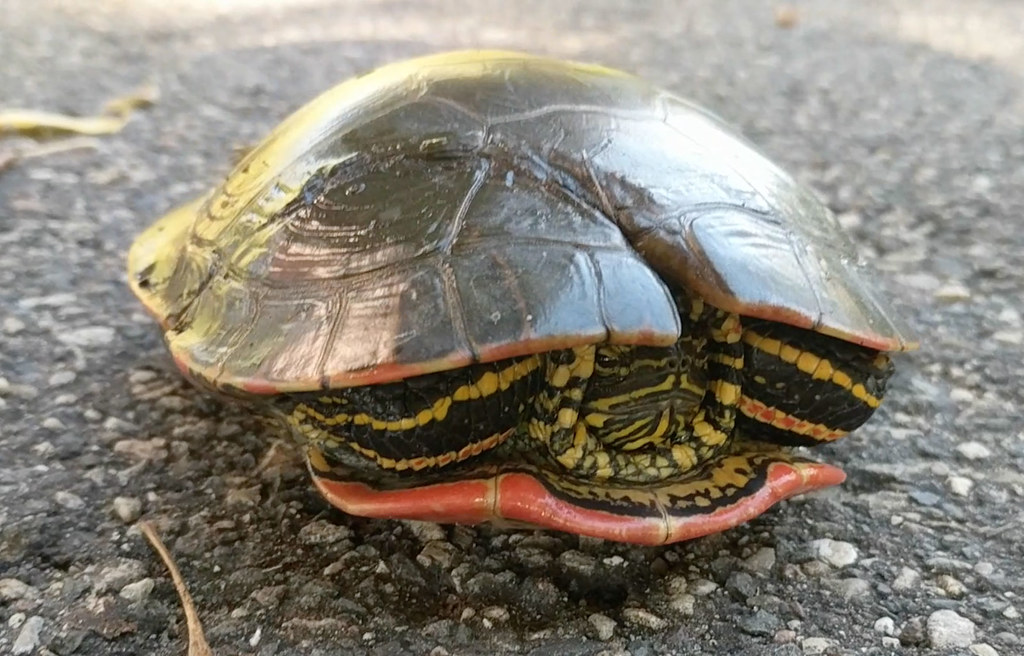
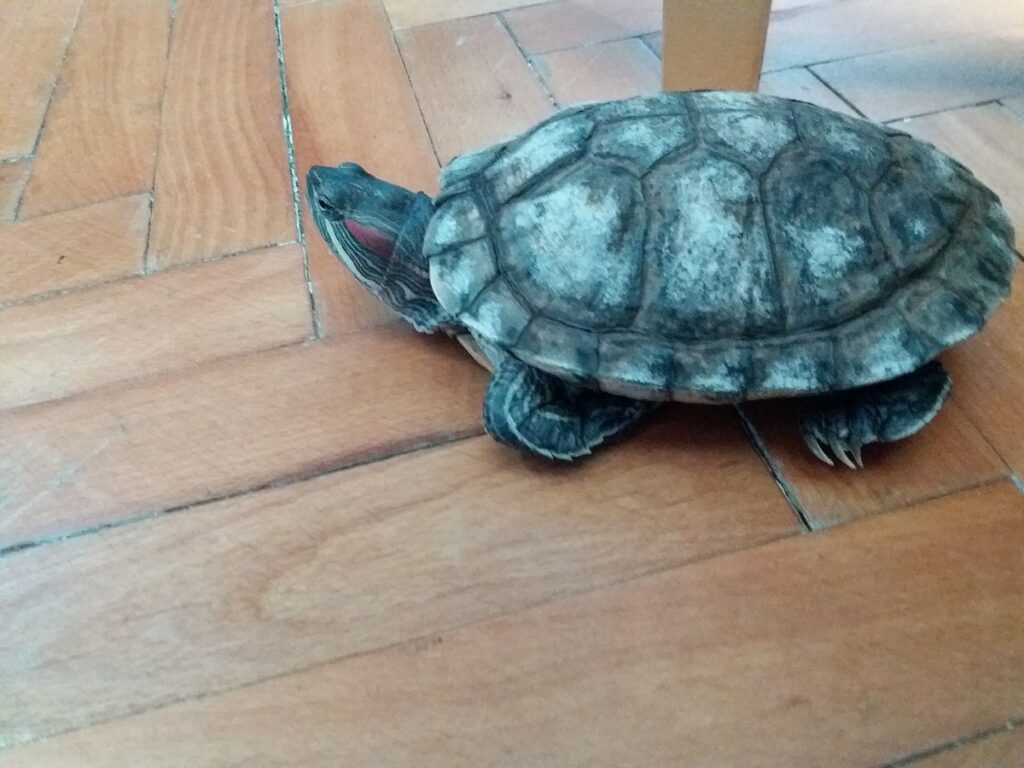
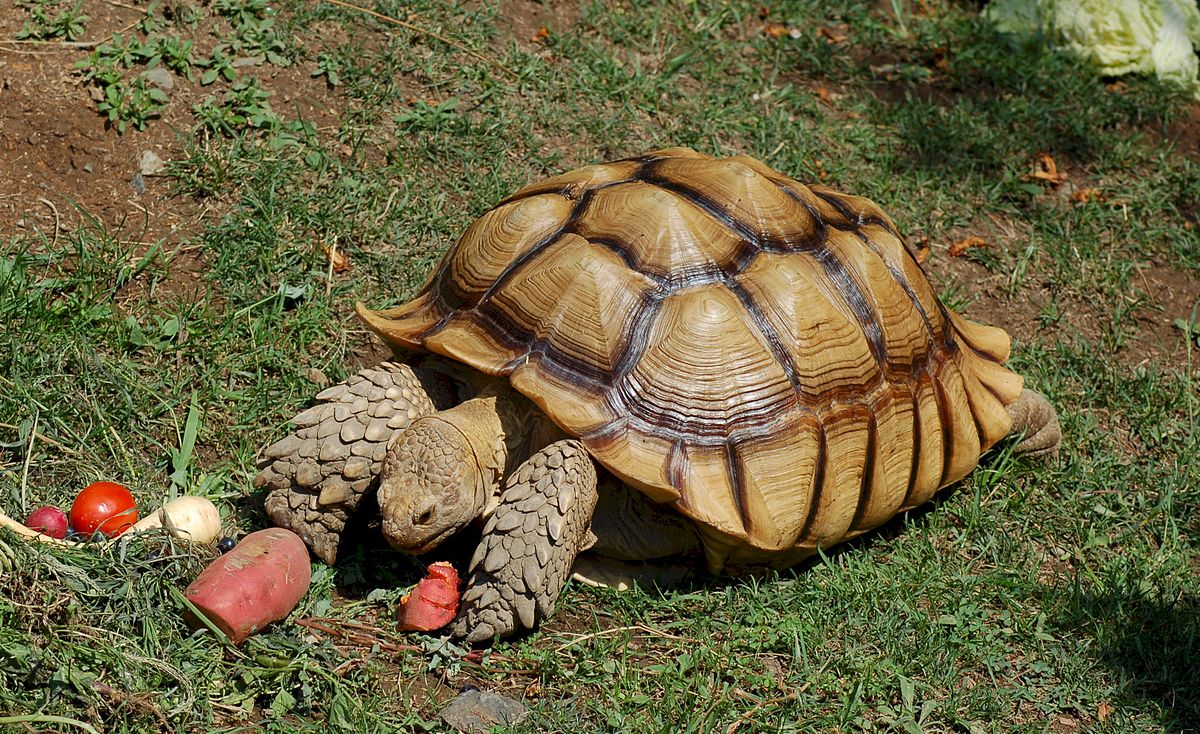
Before diving into cleaning practices, it’s important to understand what a turtle’s shell actually is. The shell consists of two main parts: the carapace (top shell) and plastron (bottom shell), connected by bridges on each side. Unlike what some might believe, a turtle’s shell isn’t separate from its body—it’s made up of modified bones covered by scutes, which are plates made of keratin (the same material as human fingernails).
Between these scutes are seams where bacteria and algae can accumulate. The shell contains nerve endings and blood vessels, making it sensitive to touch and temperature, which is why proper cleaning techniques are crucial. Understanding this anatomy helps explain why certain cleaning approaches are recommended while others should be avoided entirely.
Signs Your Turtle’s Shell Needs Cleaning
While turtles have some natural self-cleaning behaviors, there are clear indicators that your pet needs some assistance with shell maintenance. Visible algae growth, appearing as green or brown patches, is the most common sign that cleaning is necessary. White, chalky mineral deposits can accumulate, especially in hard water environments, creating an unsightly buildup on the shell.
A foul odor emanating from your turtle’s shell typically indicates bacterial growth that requires attention. Physical changes like shell softening, unusual discoloration beyond normal aging patterns, or visible parasites are serious concerns that warrant both cleaning and veterinary consultation. Regular inspection of your turtle’s shell during feeding or handling sessions will help you catch these issues early.
Natural Shell Cleaning Behaviors in Wild Turtles
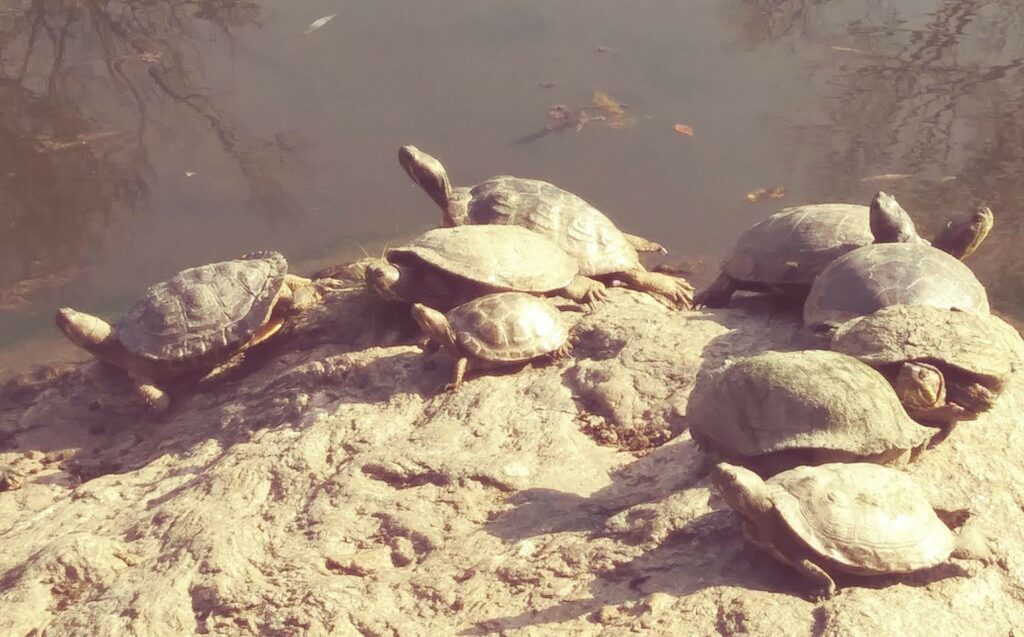
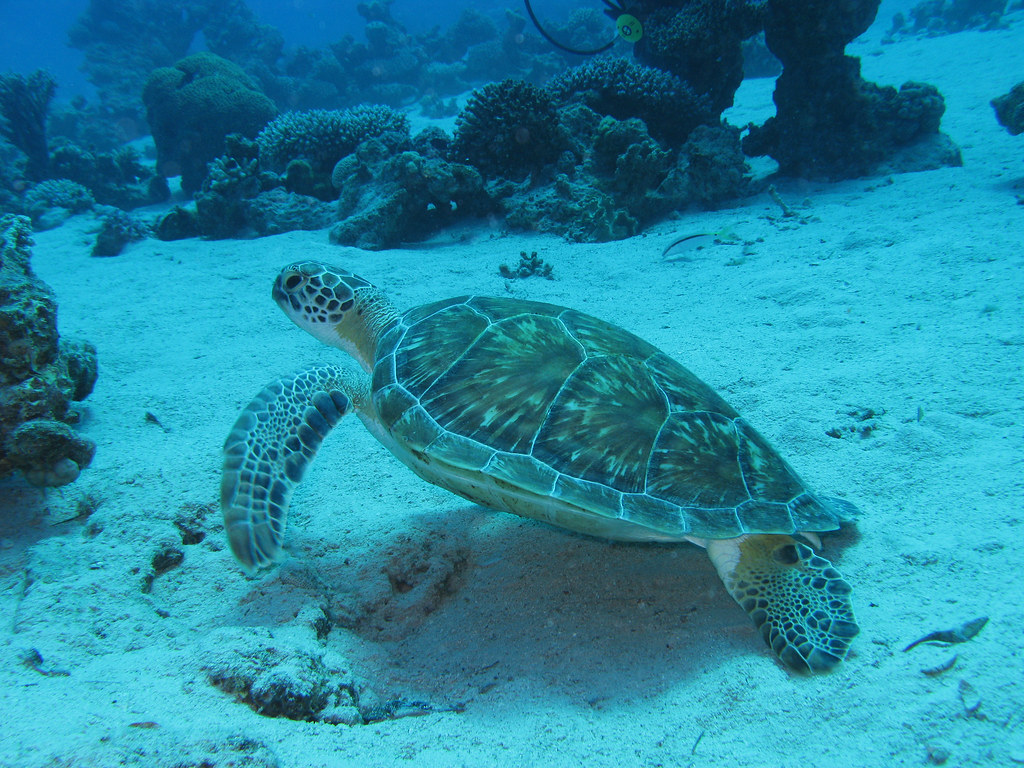
In their natural habitats, turtles engage in various behaviors that keep their shells relatively clean without human intervention. Aquatic turtles frequently bask in the sun, allowing their shells to dry completely, which helps prevent excessive bacterial and algal growth.
Many species deliberately scrape their shells against rough surfaces like rocks or logs to remove parasites and debris. Water currents in streams and ponds naturally wash away loose material, while certain fish species in wild environments may even eat algae directly from turtle shells in a symbiotic relationship.
Some turtles bury themselves in sand or substrate, which acts as a natural exfoliant for their shells. Understanding these natural behaviors can inform how we approach shell care for captive turtles and which environmental elements we should incorporate into their habitats.
The Difference Between Wild and Pet Turtle Shell Care
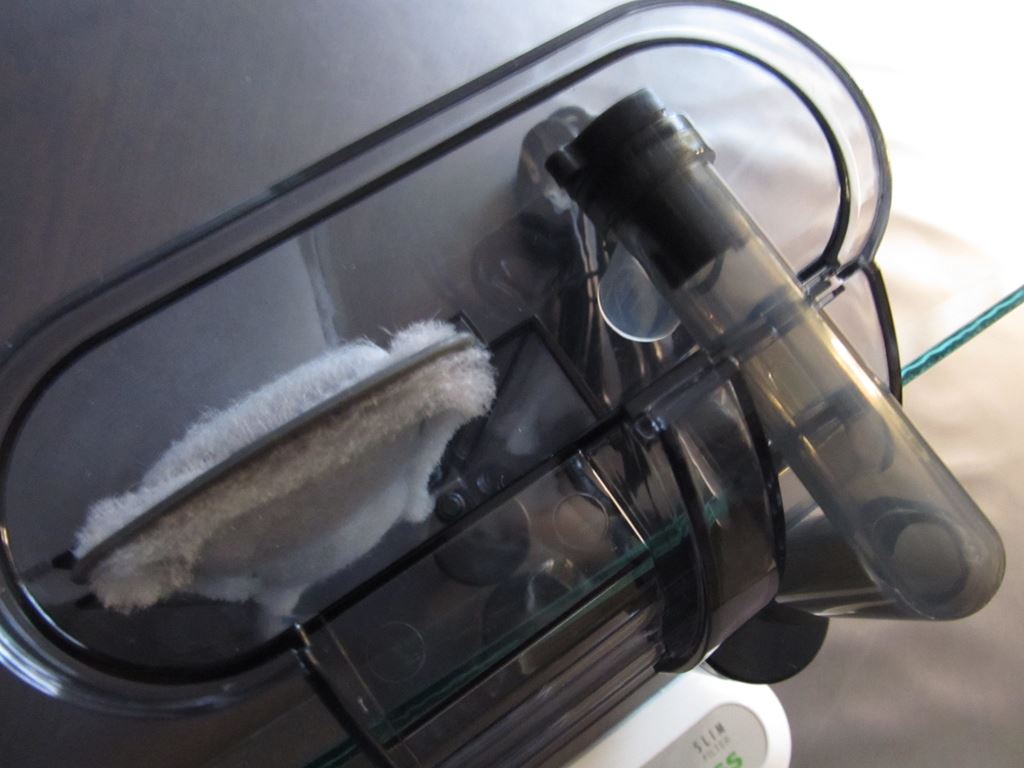
Pet turtles face different shell maintenance challenges compared to their wild counterparts. Captive environments typically lack the natural cleaning elements found in the wild, such as variable water currents, diverse substrate options, and symbiotic cleaning creatures. Aquariums and terrariums have limited space, which means pet turtles can’t always engage in extensive swimming or shell-scraping behaviors that would naturally remove debris.
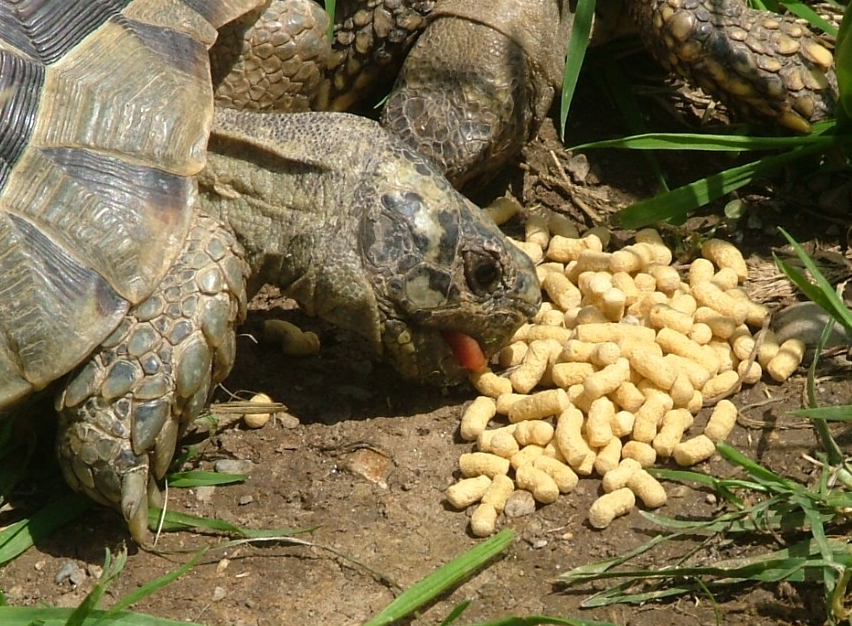
The filtered water in home setups, while cleaner in some ways, might lack the natural microorganisms that help break down certain types of shell buildup. Additionally, pet turtles often have more consistent feeding schedules and commercially prepared diets, which can affect shell growth and composition differently than varied wild diets. These differences explain why supplemental cleaning is sometimes necessary for captive turtles, even with the best habitat setup.
When NOT to Clean Your Turtle’s Shell
While cleaning can be beneficial, there are situations when it’s best to leave your turtle’s shell alone. If your turtle is actively shedding scutes (a normal process where the outer layer of the shell naturally peels away), cleaning might interfere with this process and should be avoided. Never clean a turtle’s shell if there are open wounds, cracks, or signs of shell rot, as cleaning agents could worsen these conditions and cause pain.
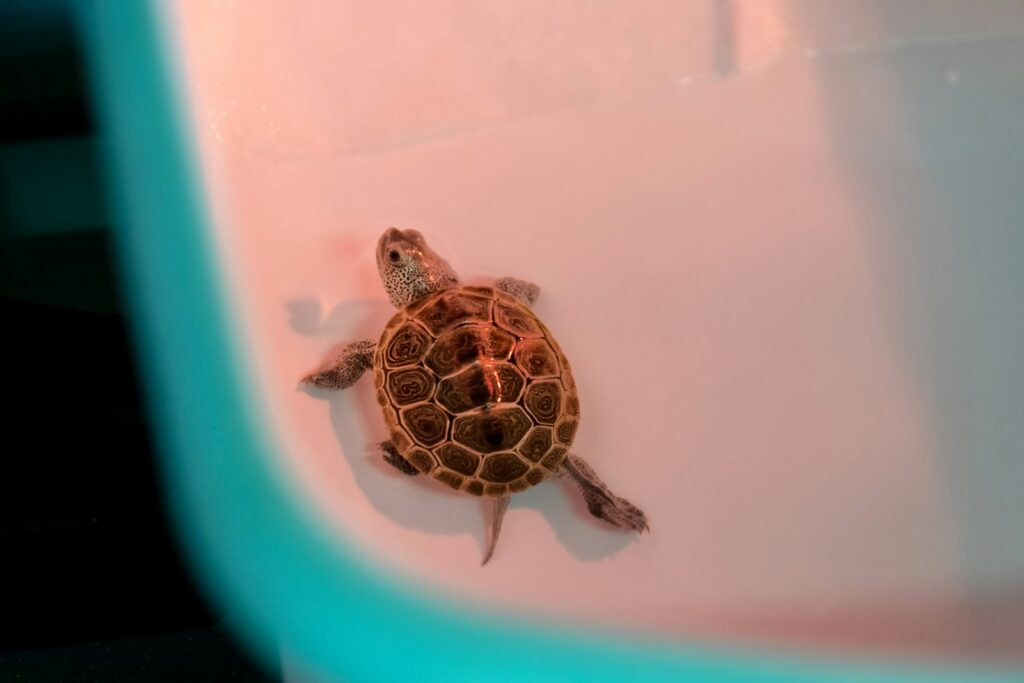
During brumation (the reptile equivalent of hibernation) or immediately after, turtles should not be disturbed for cleaning as their immune systems are more vulnerable during these periods. If your turtle appears stressed or ill, postpone cleaning and consult a veterinarian first. Additionally, very young turtles with still-developing shells should receive minimal cleaning with extremely gentle techniques to avoid damage to their developing carapaces.
Essential Supplies for Safe Shell Cleaning
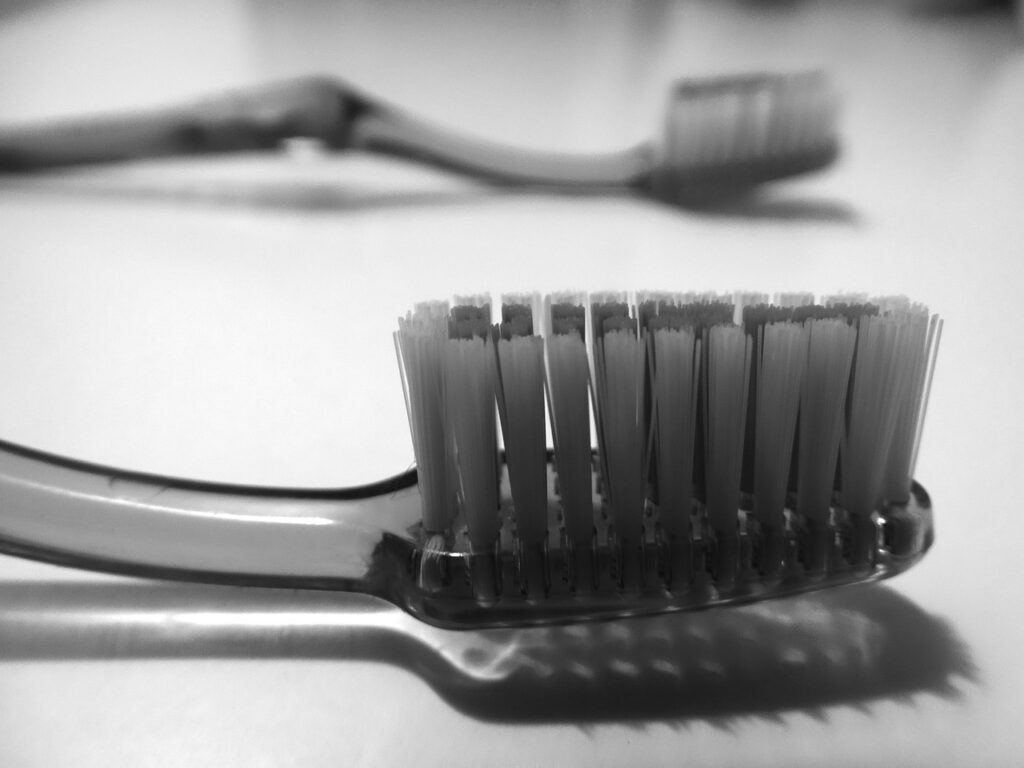
Gathering the right tools before beginning the cleaning process ensures safety and effectiveness. A soft-bristled toothbrush designated solely for your turtle is ideal for gentle scrubbing without causing micro-abrasions. Clean, lukewarm water is the foundation of any cleaning routine—never use hot water as it can stress your turtle and damage their shell. For stubborn algae, a diluted chlorhexidine solution (available at pet stores) can be used sparingly, but never use alcohol, bleach, or household cleaners which can be toxic.
A shallow cleaning container large enough for your turtle to sit comfortably but not so deep that they can swim away is practical for the cleaning process. Clean towels for drying and handling, plus a spray bottle for rinsing, complete your basic cleaning kit. For turtles with significant mineral deposits, a vinegar solution might be recommended, but should only be used occasionally and with caution.
Step-by-Step Shell Cleaning Procedure
When it’s time to clean your turtle’s shell, follow this methodical approach for the best results. Begin by preparing a shallow container with lukewarm water, deep enough to cover part of the shell but not so deep that your turtle can swim freely and become stressed.
Gently place your turtle in the water and allow them to soak for 10-15 minutes, which softens debris and makes cleaning easier. Using the soft-bristled toothbrush, gently scrub the carapace in circular motions, paying special attention to the seams between scutes where algae commonly accumulates.
Rinse thoroughly with clean water, using a spray bottle for precision. For the plastron (bottom shell), carefully hold your turtle upside down for brief periods while cleaning, supporting their body properly to minimize stress. After cleaning, allow your turtle to dry completely in a warm, clean area before returning them to their habitat. This entire process should be calm and gentle, taking care never to scrub aggressively or use excessive pressure.
Dealing with Stubborn Algae Growth
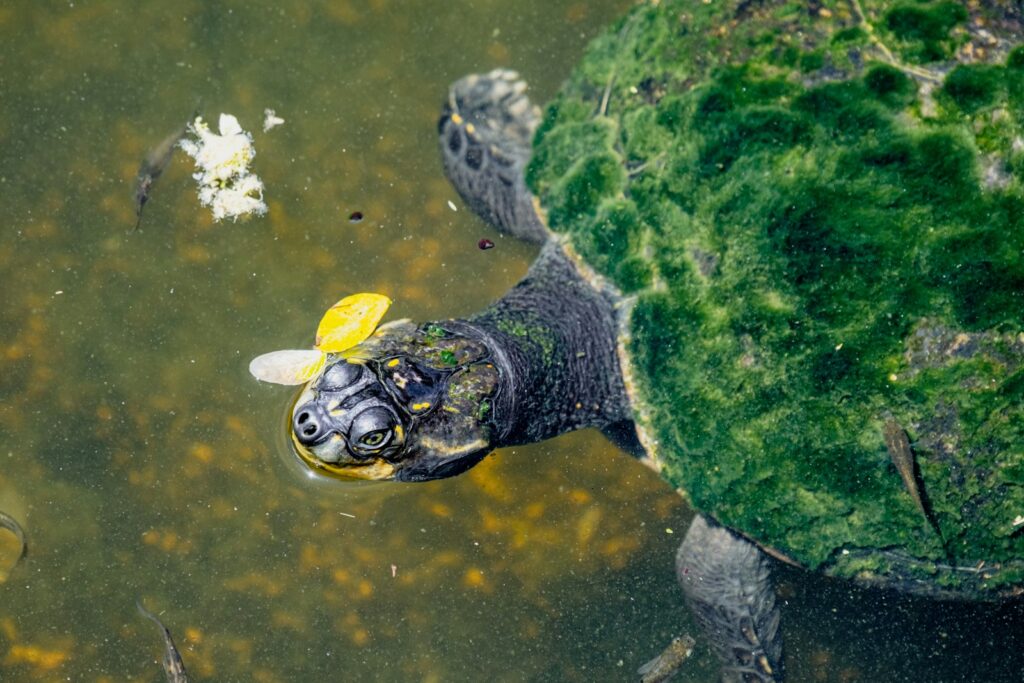
Persistent algae can be challenging to remove and requires special attention beyond routine cleaning. For moderate algae buildup that doesn’t respond to regular brushing, consider using a diluted povidone-iodine solution (10% povidone-iodine diluted 1:10 with water) applied carefully to affected areas with a cotton swab. Multiple short cleaning sessions over several days are more effective and less stressful than one aggressive cleaning attempt.
To prevent future algae problems, increase your turtle’s basking opportunities, as completely drying the shell regularly inhibits algae growth. Improving water quality through more frequent filtration maintenance and water changes significantly reduces algae spores in the environment. For severe cases that don’t respond to home treatment, consult an exotic pet veterinarian who might recommend specialized treatments or check for underlying health issues that make your turtle more susceptible to algae colonization.
Addressing Mineral Deposits and Hard Water Stains
Calcium and mineral deposits often appear as white, chalky areas on turtle shells, particularly in regions with hard water. To address these stubborn deposits, create a solution of one part white vinegar to four parts water, applying it to affected areas with a soft cloth for no more than a few minutes before thoroughly rinsing.
This mild acid helps dissolve the alkaline mineral buildup without harming the shell structure. For prevention, consider using filtered or treated water in your turtle’s habitat, and install a water softener on your aquarium system if hard water is a persistent issue in your area.
Regular partial water changes rather than complete replacements help maintain a more stable mineral content. Importantly, distinguish between normal mineral deposits and potential shell disease—if the white areas appear soft, flaky, or have an unusual texture, consult a veterinarian as this could indicate a health problem rather than simple mineral accumulation.
How Frequently Should You Clean Your Turtle’s Shell?
The appropriate cleaning frequency varies depending on several factors specific to your turtle and its environment. For most healthy aquatic turtles in well-maintained habitats, a thorough shell cleaning every 1-2 months is sufficient, supplemented by gentle wipe-downs during regular tank maintenance.
Semi-aquatic species like box turtles typically require less frequent cleaning, perhaps only 3-4 times per year unless visibly soiled. Factors that might necessitate more frequent cleaning include poor water quality, inadequate filtration systems, overcrowded tanks, or turtles with health conditions that make them prone to shell issues.
Seasonal changes can also affect cleaning needs—many turtle keepers notice increased algae growth during warmer months when biological activity in the tank increases. The best approach is to establish a regular inspection routine, checking your turtle’s shell weekly for any signs of buildup, and adjusting your cleaning schedule based on your observations rather than adhering to a rigid timetable.
Preventative Measures for a Healthy Shell
Maintaining optimal habitat conditions is the most effective way to minimize the need for shell cleaning. Invest in a high-quality water filtration system appropriate for the size of your tank and the number of turtles, and perform regular partial water changes (about 25% weekly) to maintain water quality.
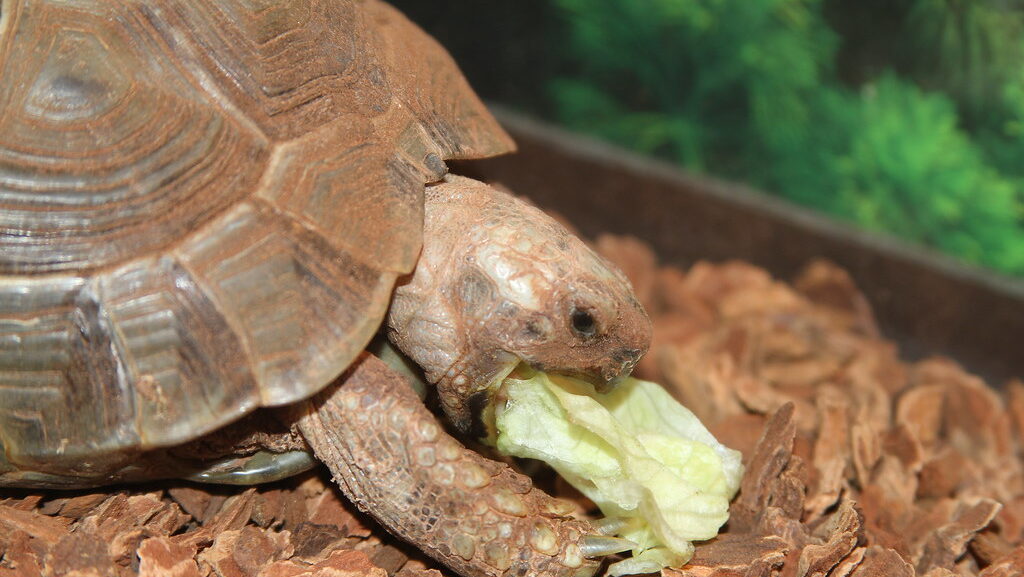
Provide adequate UVB lighting and basking areas that allow your turtle to completely dry its shell daily, as this natural drying process significantly reduces algae and bacterial growth. Ensure proper nutrition with a balanced diet rich in calcium and vitamin D3, which promotes healthy shell development and resistance to infections.
Adding natural décor elements like rough rocks or driftwood gives turtles surfaces to scrape against, mimicking their natural cleaning behaviors. Some turtle keepers also introduce safe aquatic plants that compete with algae for nutrients or even compatible cleaner fish in larger setups. Implementing these preventative measures creates an environment where your turtle can maintain their shell health more naturally.
When to Seek Veterinary Care for Shell Issues
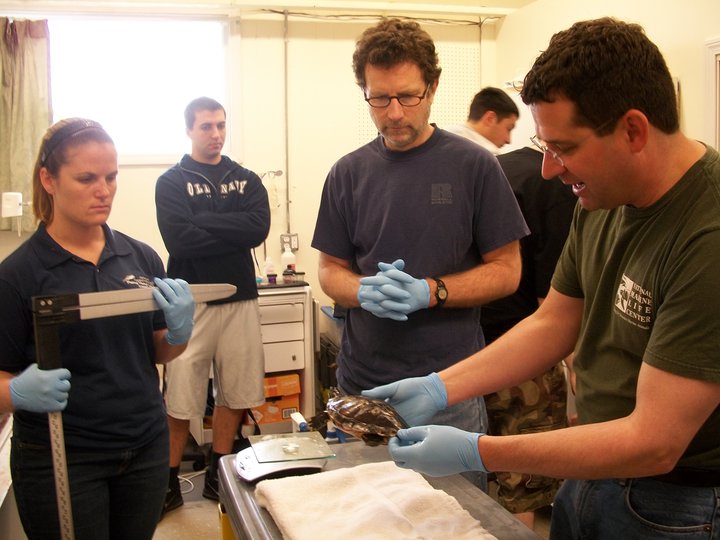
While routine cleaning addresses cosmetic issues, certain shell conditions require professional attention. Consult an exotic pet veterinarian immediately if you notice shell softening, as this could indicate metabolic bone disease or shell rot that requires medical intervention. Cracks, fractures, or unusual bumps on the shell surface are serious concerns that may require specialized treatment and should not be addressed with home cleaning. Foul odors that persist after gentle cleaning might indicate deep bacterial infections within the shell layers. Discoloration that appears red, black, or yellow (rather than the normal algae green) could signal fungal infections or blood within the shell’s vascular system. Any sudden changes in shell texture, including pitting, flaking beyond normal scute shedding, or areas where the shell feels different from the surrounding surface warrant professional evaluation. Remember that early intervention by a qualified veterinarian can prevent minor shell issues from developing into life-threatening conditions.
Special Considerations for Different Turtle Species
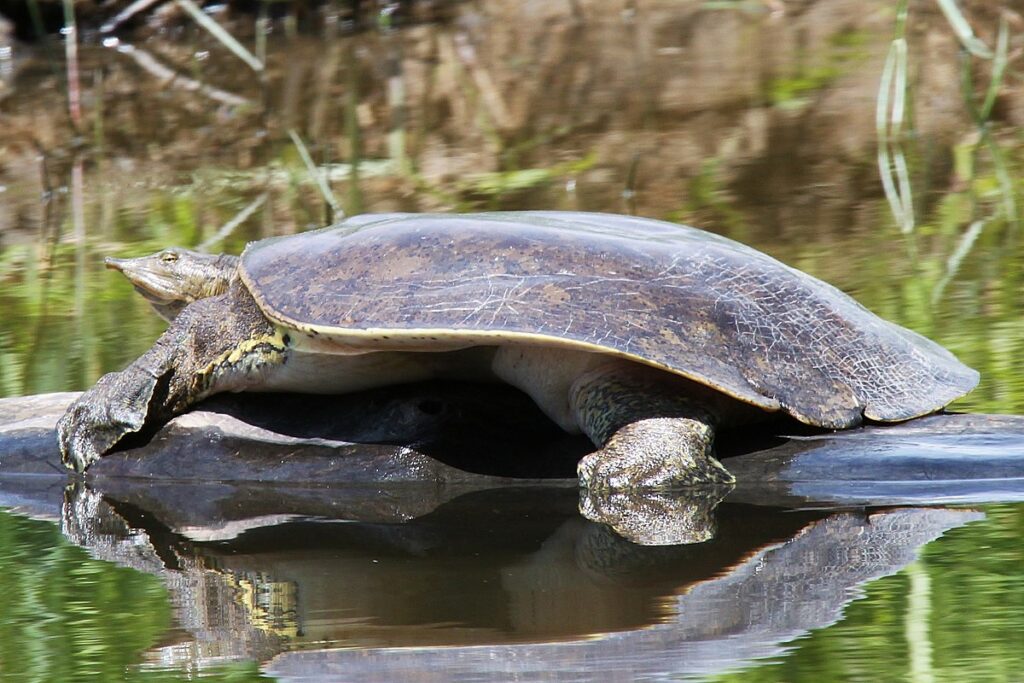
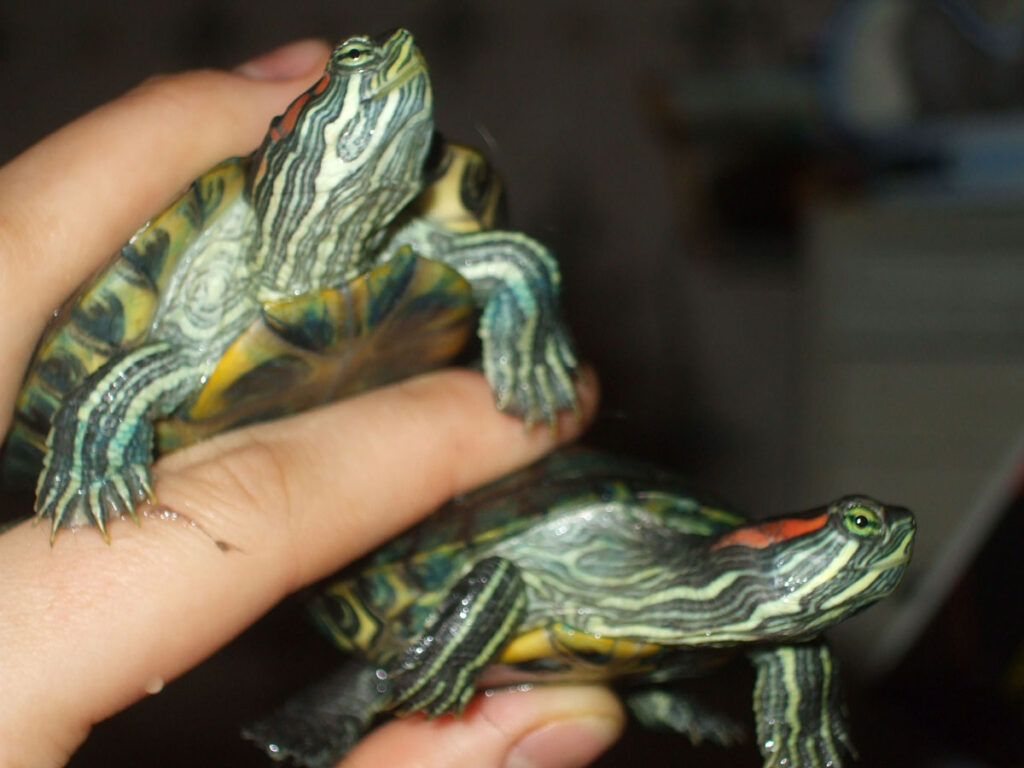
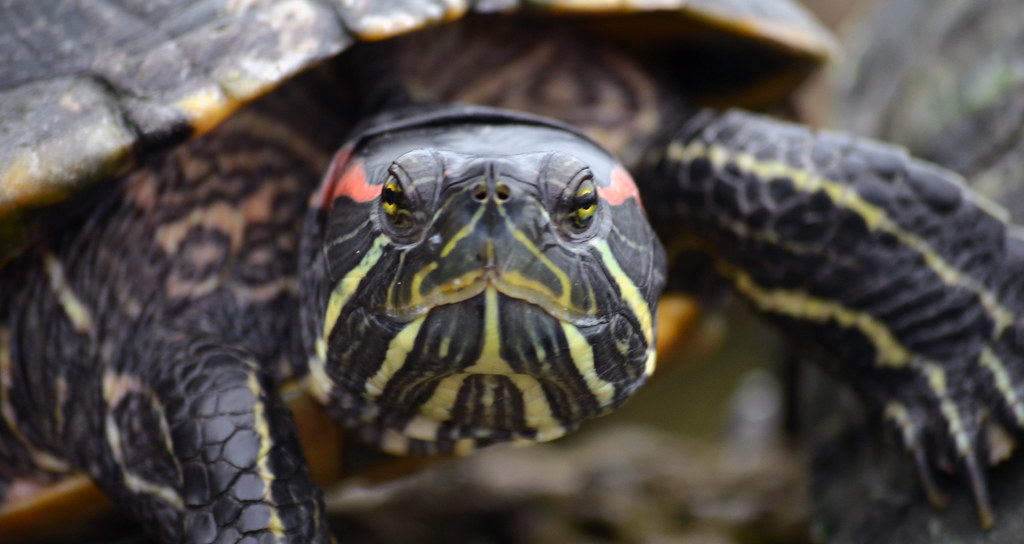
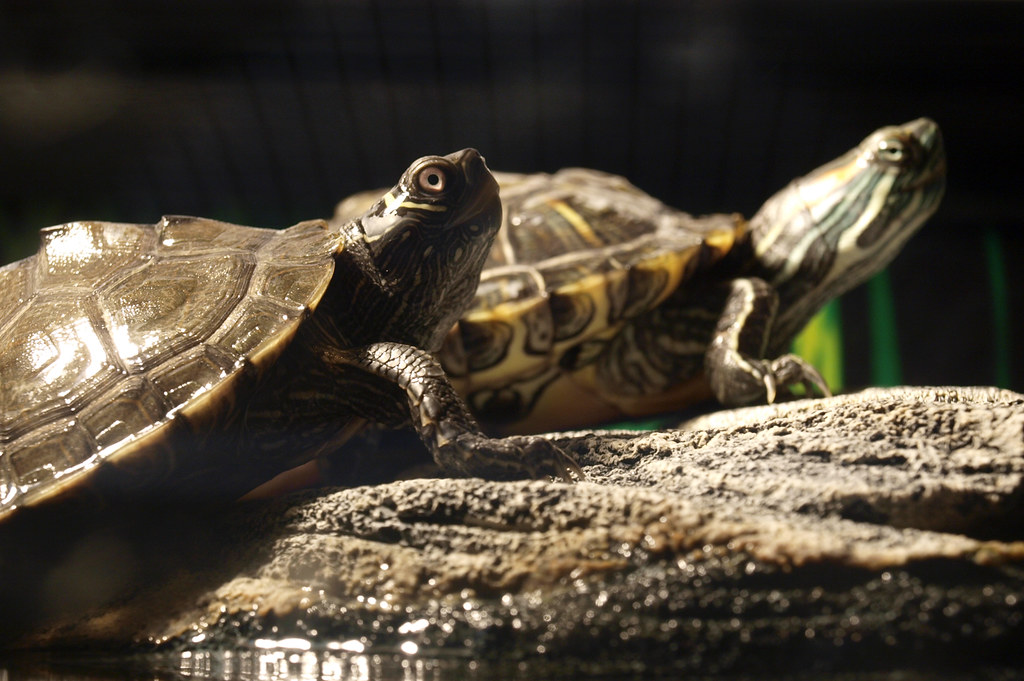
Shell cleaning approaches should be tailored to your specific turtle species, as shell structure and sensitivity vary significantly. Aquatic species like red-eared sliders and painted turtles generally tolerate more frequent cleaning and may require it due to their predominantly water-based lifestyle.
Softshell turtles demand extremely gentle care due to their leathery, less rigid shells that can be easily damaged by aggressive cleaning. Box turtles and other primarily terrestrial species have more dome-shaped shells with growth rings that can trap debris but generally require less frequent cleaning than aquatic counterparts.
Map turtles and similar species with pronounced ridges on their shells need special attention to clean between these textured areas. Mud and musk turtles often have algae that’s actually beneficial to their camouflage in the wild, so minimal cleaning is recommended unless there are signs of harmful buildup. Research your specific species’ natural habitat and shell characteristics to develop the most appropriate cleaning regimen for your particular turtle.
Common Shell Cleaning Mistakes to Avoid
Well-intentioned turtle owners often make cleaning errors that can harm their pets’ shells and overall health. Perhaps the most dangerous mistake is using household cleaning products like bleach, alcohol, or commercial soaps, which can be absorbed through the shell and cause toxic reactions or damage the protective coating of the shell.
Scrubbing too vigorously, even with appropriate tools, can create micro-abrasions that invite bacterial infections. Using excessively hot water during cleaning causes stress and can damage the living tissue of the shell. Some owners mistakenly attempt to remove naturally shedding scutes, which should be allowed to detach on their own time.
Inadequate drying after cleaning creates a moist environment that encourages fungal growth. Cleaning too frequently can strip beneficial bacteria and natural oils from the shell, disrupting its protective properties. Avoiding these common mistakes ensures that your cleaning efforts enhance rather than compromise your turtle’s shell health.
Proper shell care is an important aspect of responsible turtle ownership that balances natural behaviors with appropriate human intervention. By understanding your turtle’s specific needs, recognizing when cleaning is necessary, and using gentle, species-appropriate techniques, you can help maintain your turtle’s shell health for years to come.
Remember that a clean shell is just one component of overall turtle wellness, working together with proper nutrition, habitat maintenance, and veterinary care to ensure your shelled companion thrives. With regular observation and thoughtful care, most turtle owners can master the art of shell maintenance and enjoy the reward of a healthy, active turtle displaying a beautiful natural shell.
Leave a Reply