
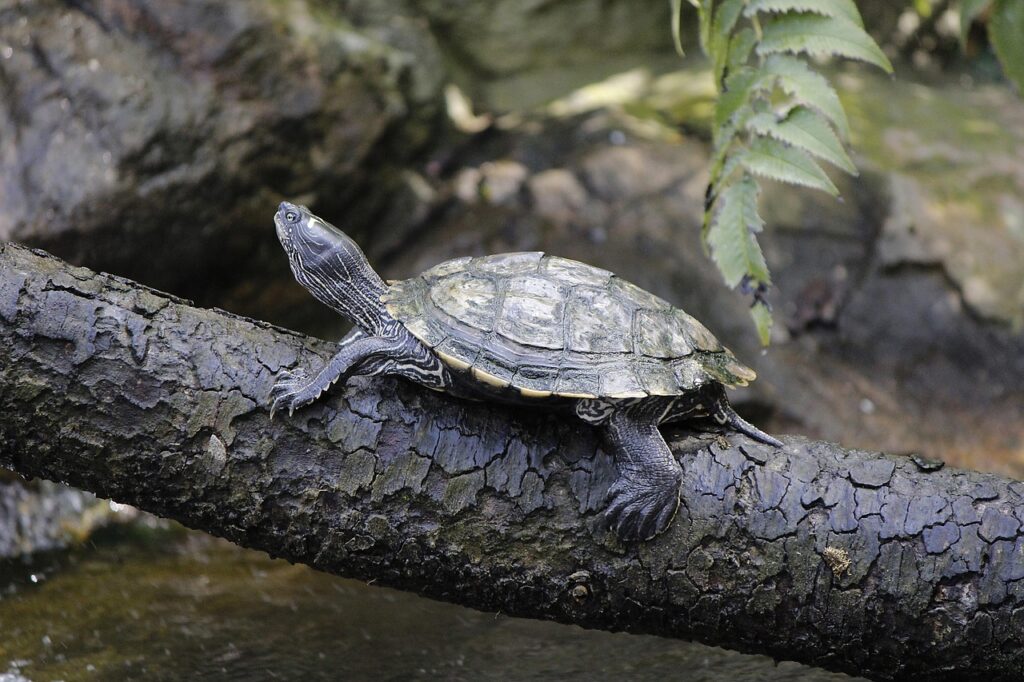
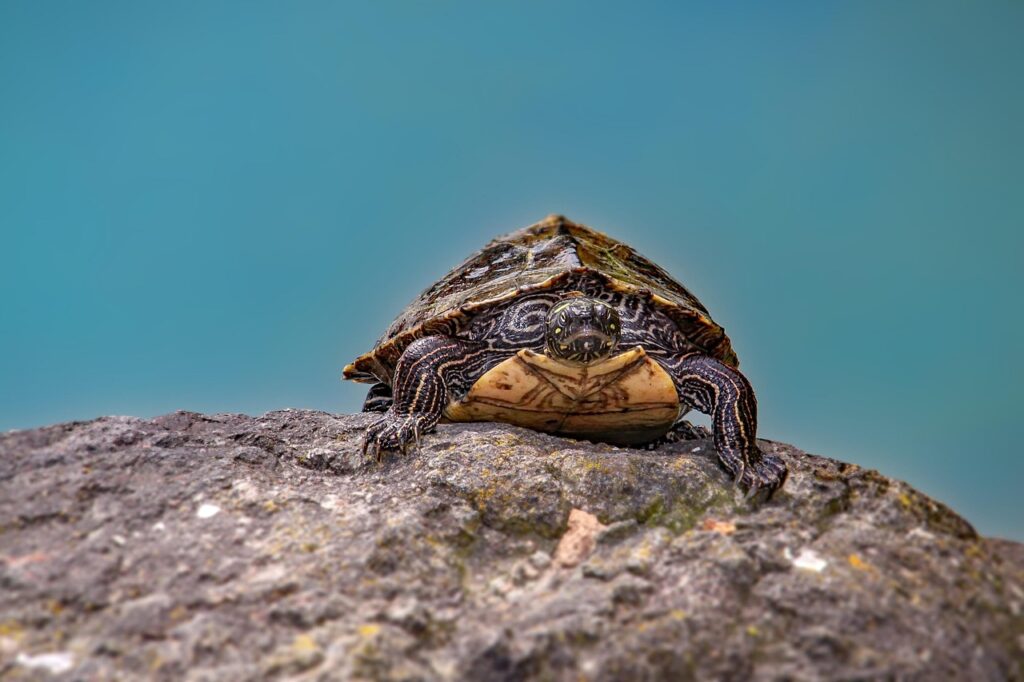
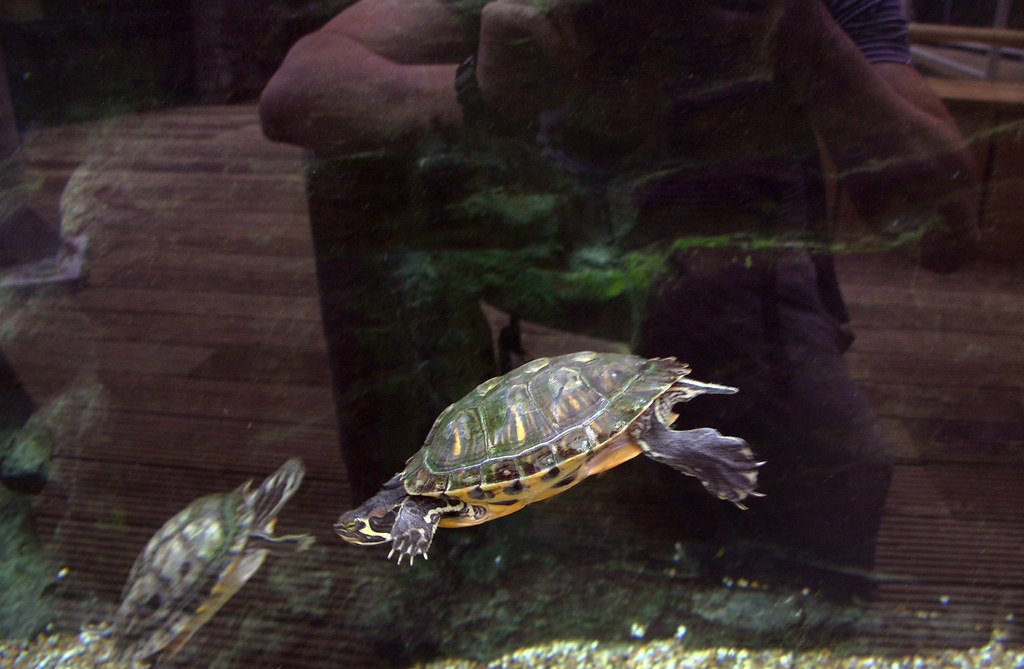
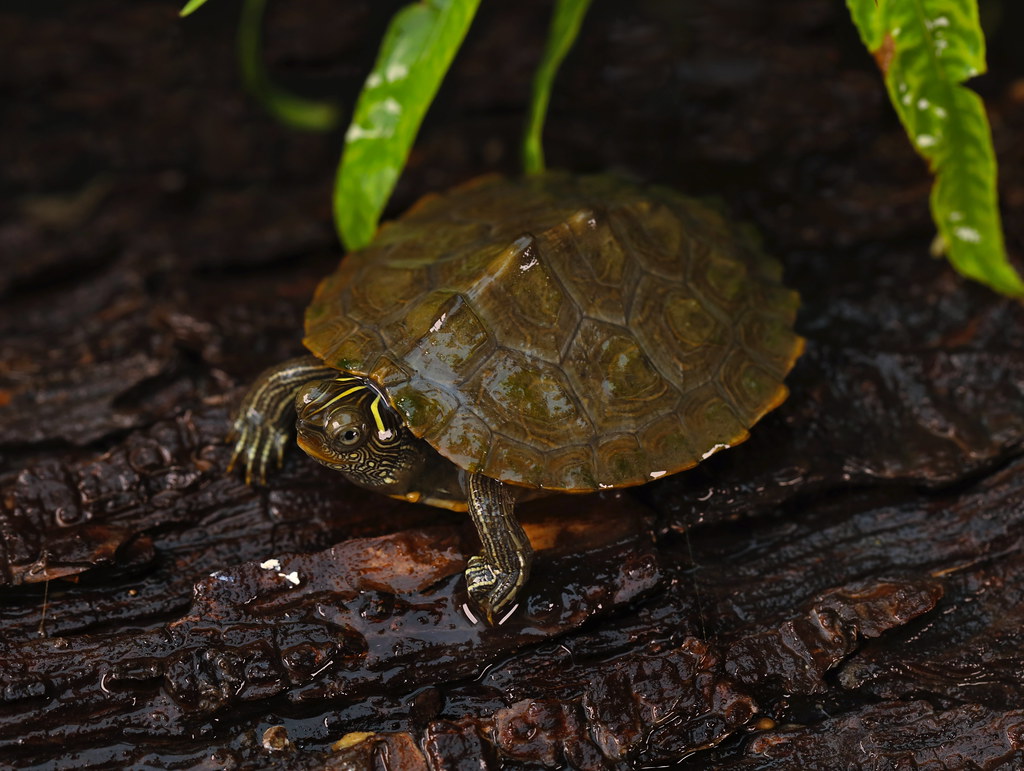
Turtles are fascinating pets that bring joy and wonder to any home, but they require special care when it comes to their aquatic environment. Unlike dogs or cats, turtles live primarily in water, making water quality crucial to their health and longevity. Dirty water can quickly lead to shell infections, respiratory issues, and other serious health problems for your shelled companion. This comprehensive guide will walk you through everything you need to know about maintaining clean, safe water for your pet turtle, from filtration systems to cleaning schedules. Whether you’re a first-time turtle owner or looking to improve your current setup, these tips will help ensure your turtle thrives in a pristine aquatic home.
Understanding Why Clean Water Matters
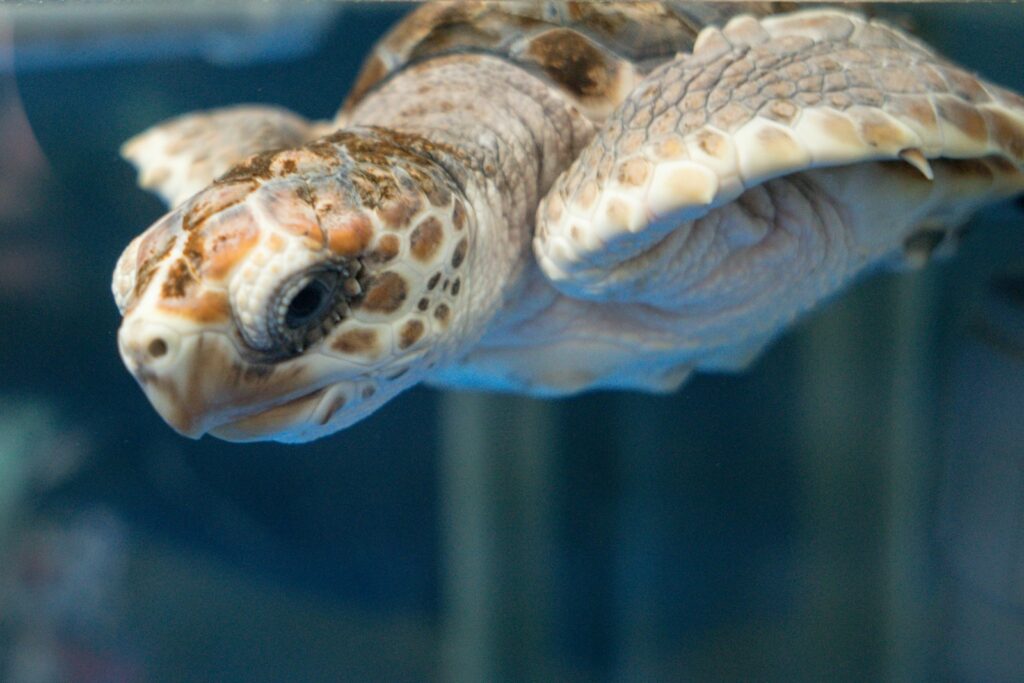
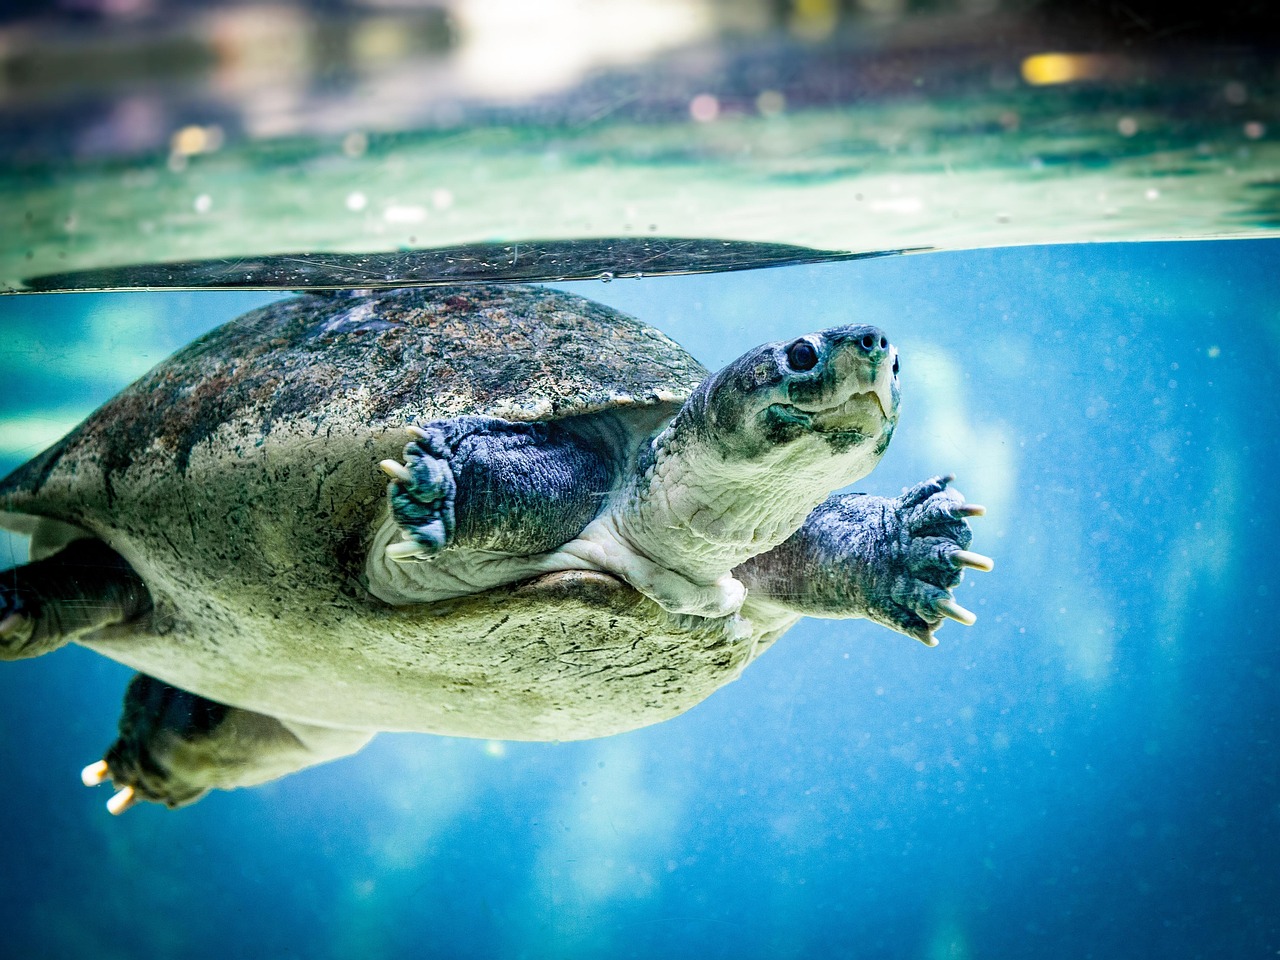
Turtles are messy creatures by nature, producing significant waste as they eat, swim, and live in their aquatic habitats. Unlike fish, turtles generate much more waste relative to their body size, quickly contaminating their water with ammonia, nitrites, and other harmful compounds. These contaminants can cause skin irritations, shell rot, respiratory infections, and even lead to fatal conditions if left unchecked. Additionally, turtles themselves are susceptible to bacteria and fungi that thrive in dirty water, creating a dangerous cycle of contamination. Since turtles both drink and absorb substances through their skin from their water, maintaining clean conditions isn’t just about aesthetics—it’s fundamentally about their survival and well-being.
Choosing the Right Tank Size
The foundation of good water quality begins with an appropriately sized habitat for your specific turtle species. A common rule of thumb is to provide 10 gallons of water per inch of shell length, with additional space for basking areas. Undersized tanks lead to rapid waste concentration and poor water quality, regardless of how frequently you clean. For example, a red-eared slider that reaches 7-9 inches as an adult should have at least a 75-90 gallon tank. Larger tanks also allow for better water circulation and provide more stable water chemistry, making maintenance easier in the long run. Remember that turtles grow throughout their lives, so plan for your turtle’s adult size rather than its current juvenile dimensions when selecting a tank.
Investing in a Quality Filtration System

A robust filtration system is perhaps the most important investment you’ll make for your turtle’s health. Unlike fish tanks, turtle habitats require filters rated for two to three times the actual water volume due to turtles’ heavy waste production. Canister filters are often recommended for turtles because they provide powerful mechanical, biological, and chemical filtration capabilities. The mechanical component traps particles like food debris and waste, while biological filtration harbors beneficial bacteria that break down harmful ammonia. Chemical filtration, typically through activated carbon, removes discoloration and odors. When selecting a filter, look for models specifically designed for turtles or those marketed for “heavy bioload” situations, as these will have the power necessary to handle your turtle’s waste production.
Establishing a Regular Cleaning Schedule
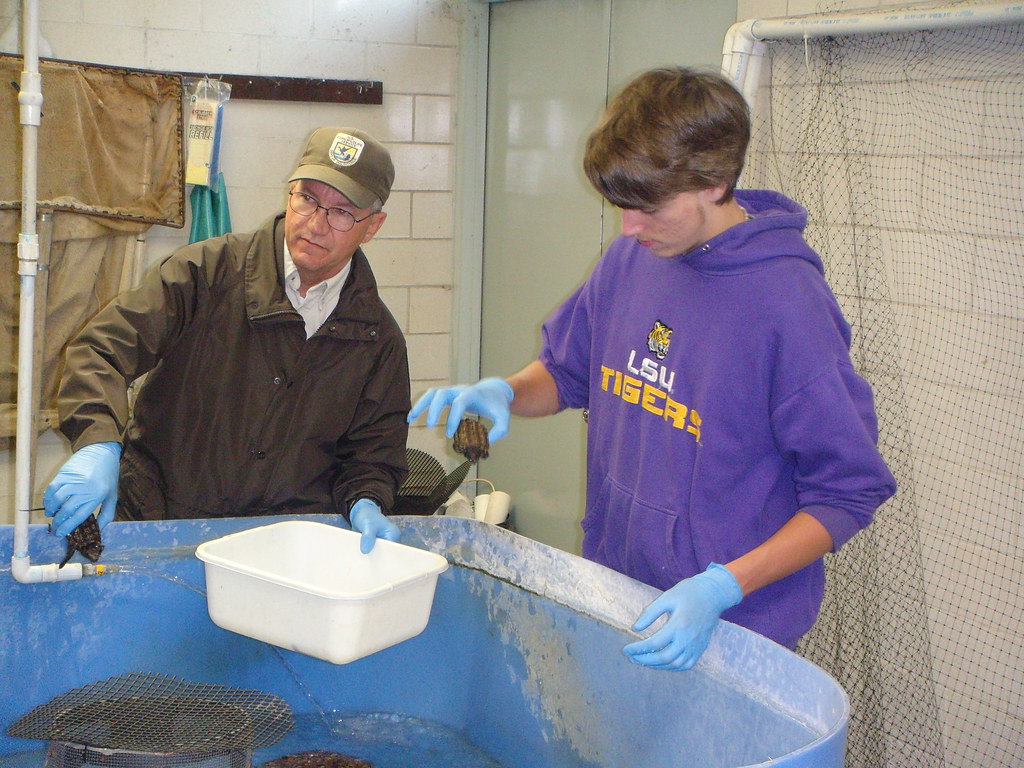
Even with an excellent filtration system, regular maintenance remains essential for turtle tanks. Develop a cleaning routine that includes daily, weekly, and monthly tasks to ensure consistent water quality. Daily maintenance should include removing any obvious waste, uneaten food, and plant debris with a net or turkey baster. Weekly tasks should involve a partial water change of approximately 25-30% of the total volume, using a gravel vacuum to remove waste that has settled in the substrate. Monthly maintenance should include deeper cleaning of decorations, checking filter media, and potentially a larger water change of up to 50%. Be sure to maintain detailed records of your cleaning schedule to ensure consistency, as irregular cleaning can cause harmful fluctuations in water chemistry that stress your turtle’s system.
Testing Water Parameters Regularly
Regular water testing is crucial for maintaining optimal conditions in your turtle’s habitat. Invest in a reliable water testing kit that measures ammonia, nitrite, nitrate, pH, and water hardness. Ammonia and nitrite levels should always remain at zero, as these compounds are highly toxic to turtles. Nitrate levels should stay below 40 ppm, though lower is always better. The ideal pH range for most turtle species falls between 6.5 and 8.0, but research your specific turtle species for more precise requirements. Testing should be conducted weekly at minimum, and more frequently after any major changes to the tank. Consistent monitoring allows you to catch potential problems before they affect your turtle’s health and helps you establish patterns that may indicate when maintenance needs to be adjusted.
Understanding the Nitrogen Cycle
The nitrogen cycle is a biological process that transforms harmful ammonia from waste into less toxic compounds, and understanding it is essential for maintaining healthy turtle water. This cycle begins when beneficial bacteria convert ammonia (from turtle waste and decaying food) first into nitrites (still toxic) and then into nitrates (less harmful in moderate amounts). A properly cycled tank has established colonies of these beneficial bacteria living primarily in your filter media and on tank surfaces. New tanks must go through an initial cycling period, which can take 4-6 weeks before they’re safe for turtles. During this time, you’ll see ammonia rise, then nitrites, and finally nitrates, indicating the cycle is established. Disrupting this cycle through excessive cleaning or replacing all filter media at once can cause dangerous ammonia spikes, so always preserve some of the beneficial bacteria when performing maintenance.
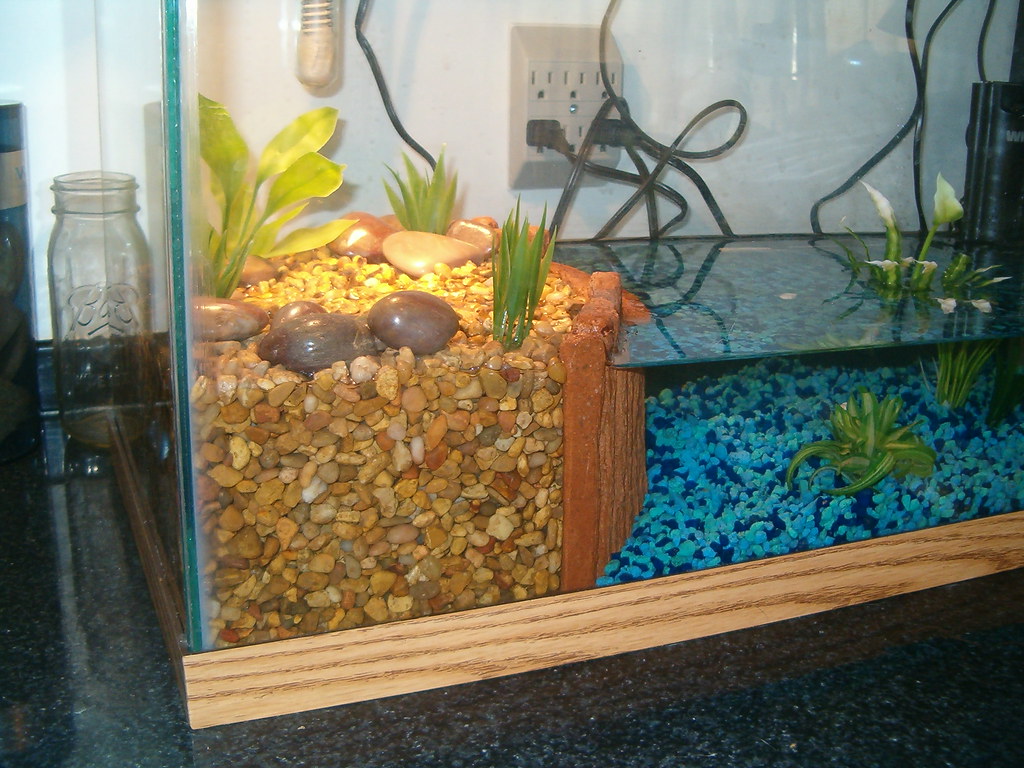
Selecting Appropriate Substrates
The substrate you choose for your turtle tank significantly impacts water quality and maintenance requirements. Large, smooth river rocks or large-grain aquarium gravel are popular choices because waste can settle between them but can be extracted with a gravel vacuum without ingesting the substrate itself. Bare-bottom tanks are the easiest to clean and maintain water quality, though they lack aesthetic appeal and natural enrichment. Sand can create a natural appearance but tends to compact and harbor anaerobic bacteria pockets if not regularly stirred. Whatever substrate you choose, ensure the particles are either too large for your turtle to swallow or fine enough to pass through their digestive system without causing impaction. Avoid small gravel that could be ingested during feeding, potentially causing serious digestive blockages.
Managing Feeding Practices

How and where you feed your turtle directly impacts water quality, making proper feeding practices essential. Consider establishing a separate feeding container—a plastic tub with clean water—where you can offer food, then return your turtle to the main tank after eating. This simple practice dramatically reduces waste in the main habitat, as turtles are messy eaters that tear apart food and leave particles floating throughout the water. If separate feeding isn’t feasible, using feeding tongs to control where food is offered can help contain mess to one area that’s easier to clean. Additionally, immediately remove any uneaten food after 10-15 minutes to prevent decomposition in the water. Monitoring portion sizes is equally important—overfeeding not only pollutes water more quickly but can lead to obesity and health problems for your turtle.
The Role of Water Conditioners and Additives
Water conditioners play a vital role in neutralizing harmful chemicals present in tap water that can harm your turtle. Chlorine and chloramine, commonly added to municipal water supplies as disinfectants, are toxic to both turtles and the beneficial bacteria in your filtration system. A quality reptile-safe water conditioner should be used whenever adding fresh water to your turtle’s habitat. Some advanced conditioners also contain beneficial bacteria supplements that help maintain the nitrogen cycle or ingredients that help break down organic waste. However, be cautious about using multiple water treatments simultaneously, as they may interact in unpredictable ways. Avoid additives claiming to “eliminate” the need for water changes, as these typically just mask problems rather than solving them, and regular water changes remain essential regardless of what products you use.
Temperature and Water Quality Connection
Water temperature significantly affects both your turtle’s health and the overall water quality in their habitat. Most common pet turtle species thrive in water temperatures between 75-80°F (24-27°C), which should be maintained using a reliable aquarium heater with a thermostat. Cooler temperatures slow metabolic processes and can weaken your turtle’s immune system, while temperatures that are too warm accelerate bacterial growth and reduce oxygen levels in the water. Interestingly, warmer water also speeds up the decomposition of waste, potentially worsening water quality more quickly. Temperature stability is equally important, as fluctuations stress turtles and can disrupt beneficial bacteria colonies in your filtration system. Always use a reliable thermometer to monitor water temperature daily, and consider investing in a heater guard to prevent your turtle from coming into direct contact with the heating element.
Dealing with Algae Growth
Algae growth is a common challenge in turtle tanks, particularly those exposed to direct sunlight or with high nutrient levels. While not directly harmful to turtles in most cases, excessive algae indicates nutrient-rich water that may contain harmful compounds. Address algae problems by first reducing light exposure, particularly natural sunlight which powerfully stimulates algae photosynthesis. Regular water changes and improved filtration help remove the nutrients algae need to thrive. Physical removal using algae scrapers or magnetic cleaners should be part of your regular maintenance routine. For persistent problems, consider adding live plants that compete with algae for nutrients, or algae-eating fish that are compatible with turtles (though research is needed as many turtles will prey on small fish). Avoid chemical algaecides unless specifically labeled as safe for turtles, as many fish-safe products can be harmful to reptiles.
Troubleshooting Common Water Quality Issues
Even with diligent care, water quality problems can sometimes develop that require specific intervention. Cloudy water typically indicates a bacterial bloom, often occurring in new tanks or after major cleaning, and usually resolves itself as the biological filtration establishes equilibrium. Foul-smelling water suggests inadequate filtration or hidden decaying matter, requiring immediate partial water change and thorough cleaning of substrate and decorations. A greasy film on the water surface indicates high protein content, usually from overfeeding, and can be removed with surface skimmers or paper towels laid gently on the surface then lifted away. Green water results from suspended algae and requires reduced lighting, more frequent water changes, and possibly UV sterilization for persistent cases. Brown or yellow water may indicate tannins from driftwood (harmless but aesthetically displeasing) or inadequate water changes allowing waste buildup.
Long-term Maintenance Strategies
Maintaining excellent water quality is a marathon, not a sprint, requiring consistent effort and strategic planning. Establishing a detailed maintenance calendar can help ensure no aspects of care are overlooked, from daily feeding and waste removal to monthly deep cleans and quarterly equipment checks. Consider keeping a log of water parameter test results, noting any changes that correspond with maintenance activities or turtle behavior. This data becomes invaluable for identifying patterns and addressing potential issues before they become serious problems. Additionally, plan for systematic equipment replacement and upgrades, as filters and heaters have finite lifespans and may need replacement every few years. Finally, incorporate seasonal adjustments to your maintenance routine, as turtles may have different activity levels and feeding requirements throughout the year, particularly species that naturally brumate during winter months.
Maintaining clean, healthy water for your pet turtle requires dedication, knowledge, and consistency. The effort you invest in proper filtration, regular cleaning, and monitoring water parameters directly translates to a longer, healthier life for your shelled companion. Remember that prevention is always easier than correction when it comes to water quality issues. By establishing good habits from the beginning and understanding the biological processes occurring in your turtle’s habitat, you’ll create an environment where your pet can thrive for decades to come. Your turtle may not be able to thank you verbally for providing pristine water conditions, but their active behavior, healthy appetite, and disease-free existence will be all the gratitude you need.


Leave a Reply